When it comes to taking care of our cars, many of us want the best protection possible without constantly worrying about wear and tear. That’s where ceramic coating comes into play. You might have heard about this innovative solution that promises to keep your car looking shiny and new for years, but there's one important aspect you need to understand: the curing process. Think of curing like baking a cake—just because it's out of the oven doesn’t mean it’s ready to eat! In this guide, we’ll dive into how long it actually takes for ceramic coating to cure and what you should know during this critical time. After all, understanding the curing process is key to making the most of your investment in your vehicle’s appearance.
Ceramic coating typically takes between 7 to 14 days to fully cure, although environmental factors like temperature and humidity can influence this timeframe. It's advisable to avoid washing the coated vehicle for at least the first week to ensure proper bonding and maximize protection from contaminants.
Standard Drying Times
Understanding how long it takes for your ceramic coating to fully cure isn't just about counting hours—it's about ensuring you get the best results for your investment. Following the application, your vehicle will first reach a touch-dry status within 12 to 24 hours, according to industry standards. However, this initial drying stage is only the tip of the iceberg.
While you might be tempted to show off your newly coated vehicle or park it outdoors, patience is key here.
After this touch-dry period, the coating enters a more delicate phase where additional curing is required. During this time, the solvents embedded in the coating begin to evaporate fully, establishing a tighter bond with the paint surface. Think of it as allowing a cake to set properly after baking; if you cut into it too soon, you risk ruining its structure. The same goes for your ceramic coating. Mistakes made before full curing—such as exposure to water, dirt, or extreme temperatures—can severely compromise its effectiveness and longevity.
It's essential to allow adequate time—typically stretching to 24-48 hours in total—before exposing your vehicle to challenging conditions.
So what does that mean in practical terms? First off, avoid washing your vehicle or subjecting it to rain or dust during this curing time. If you plan on driving your car shortly after coating, consider protective measures like avoiding unpaved roads. The elements can significantly interfere with the bonding process during this period.
To secure optimal results, schedule your ceramic coating application when you anticipate favorable weather—not just for comfort but also for successful curing. A controlled environment can make a significant difference.
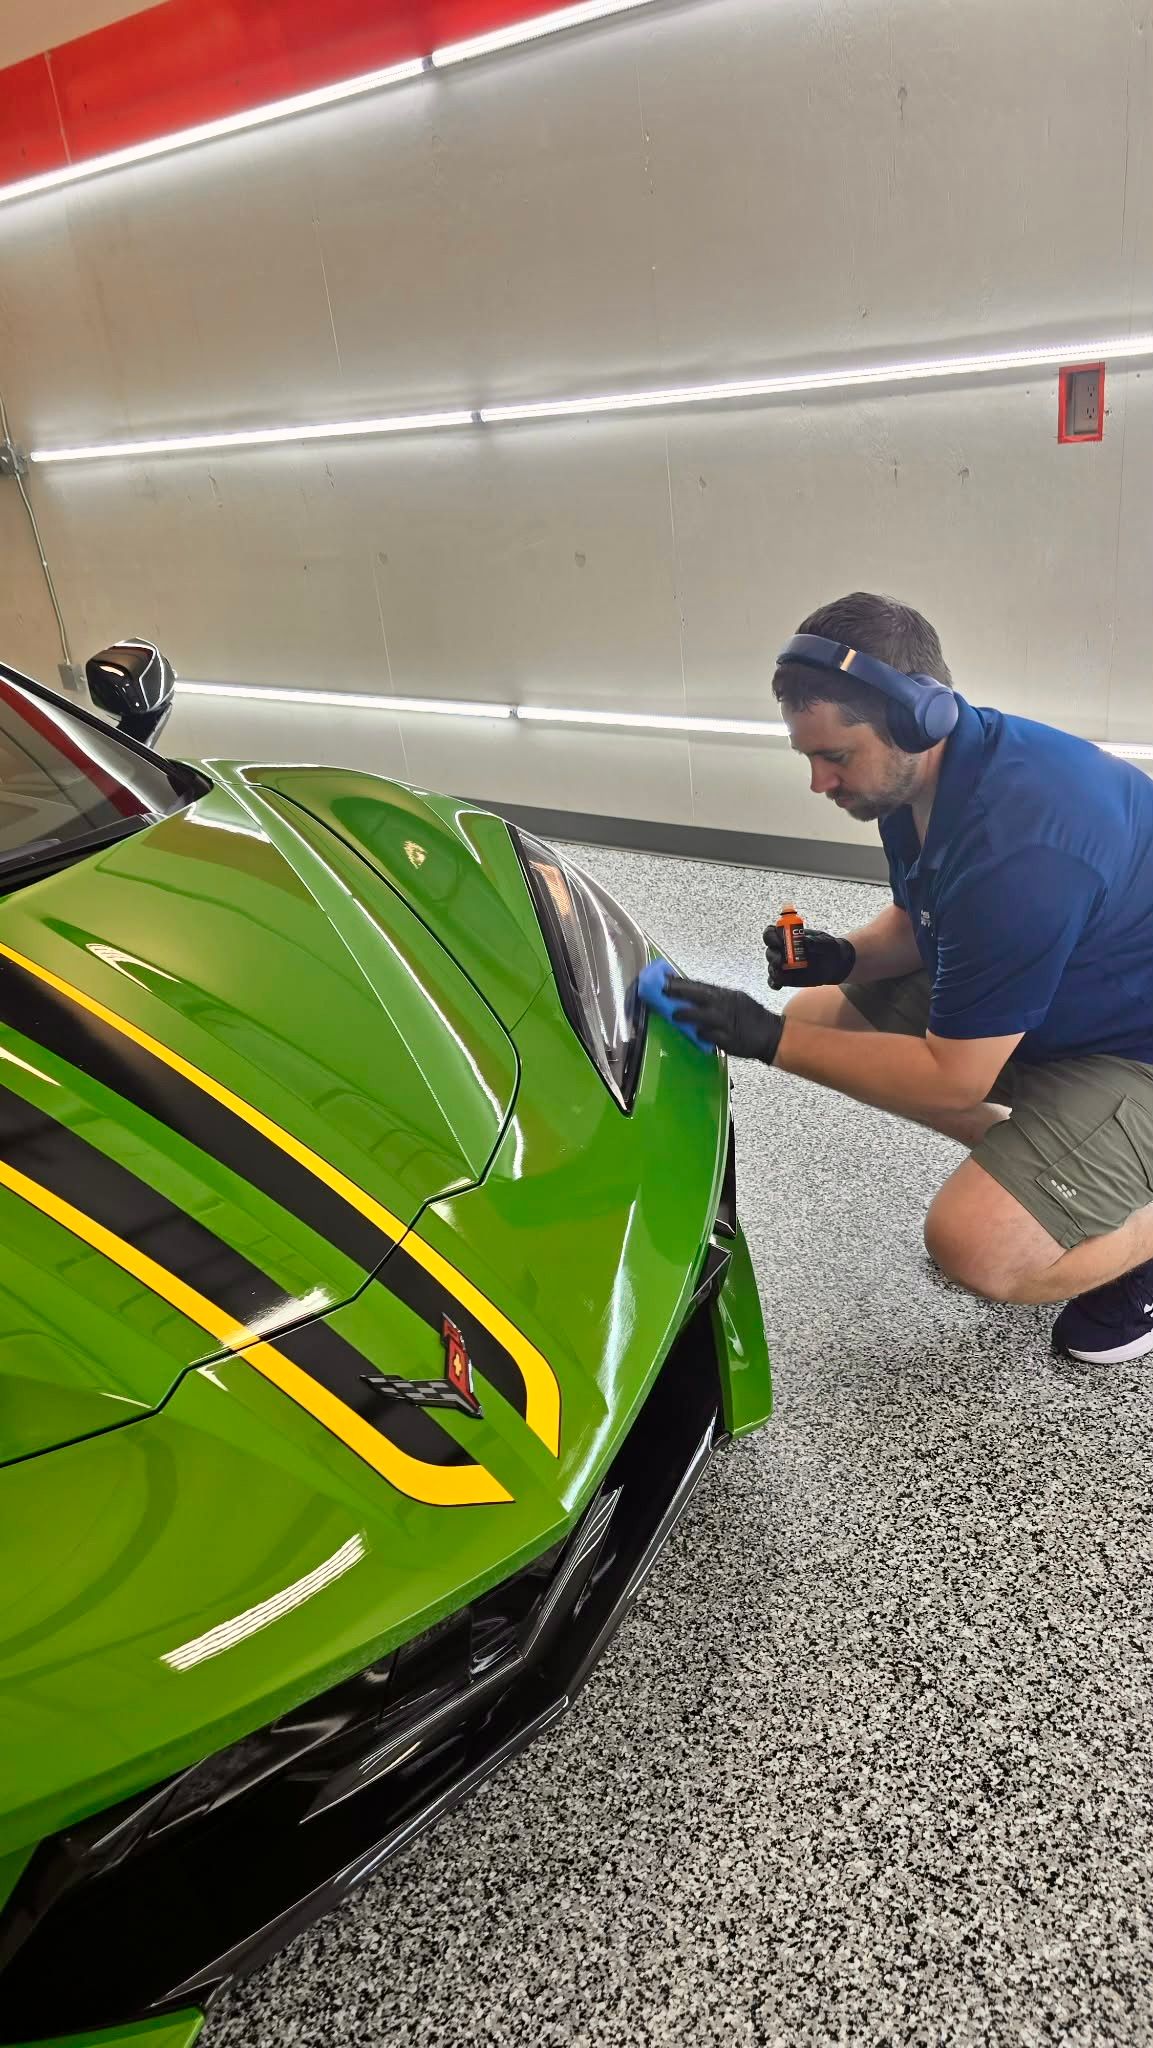
Additionally, proper care during this crucial phase contributes not only to the immediate aesthetic appeal but also extends the service life of the protection you're applying. Remember: with ceramic coatings like Jade Emerald, you're investing in over four years of gloss and protection—so treating those first few days with care pays off tremendously!
As we navigate through these details further, let's turn our attention towards understanding specific timelines associated with these coatings and what they mean for maintenance practices.
Fully Cured Times
While the initial drying phase may seem quick, the journey to full curing is significantly longer. Typically, this process takes anywhere from 7 to 14 days for your ceramic coating to achieve its maximum hardness and protective capabilities. Various conditions can influence this timeline; for instance, in a high-humidity environment, the curing period might stretch to 30 days.
During those initial days post-application, users often notice some improvement in how water beads off the surface. This hydrophobic property begins to manifest within the first week as the coating bonds but remains somewhat sensitive. Minor scratches become less visible as the coating continues to cure, providing an appealing aesthetic while adding a layer of protection against wear and tear. True durability and resistance to environmental elements are realized only after reaching that one-month mark.
When thinking about ceramic coatings, consider it like a fine wine maturing over time; it becomes richer and more robust with careful nurture.
So what happens during each phase of the curing process? Breaking it down will help you understand why patience is key. In the initial post-application phase (the first 0-24 hours), your freshly coated surface is bonding but remains vulnerable to contaminants. Keep your vehicle well protected from moisture and debris during this critical period.
In the initial cure phase, which spans from 24-48 hours, bonding occurs, but the coating still requires careful avoidance of excessive moisture or exposure to environmental threats as its hardening process is ongoing.
As we dive into the full cure phase—which can take between 7 and 14 days—it’s essential to treat your coated surface with extra care. You’ll want to avoid automatic washes or harsh cleaning products during this timeframe because they could disrupt the developing bond.
To optimize curing times, consider creating an ideal environment for your ceramic coating by using controlled conditions such as heaters or dehumidifiers to maintain temperatures between 70°F and 85°F. Infrared curing lamps can dramatically reduce waiting time; reports indicate some technicians successfully cut that standard 48-hour waiting period down to around 24 hours!
Understanding each step of this process ensures that you’re not just protecting your vehicle’s exterior; you’re safeguarding your investment for years ahead. As we transition from these curing intricacies, exploring the impact of environmental factors will further enrich your knowledge about maintaining a pristine finish on your vehicle.
Weather and Environmental Impact
When planning to apply a ceramic coating, climate matters. Factors like humidity, temperature, and sunlight can significantly influence when the coating will fully cure. High humidity levels can slow down solvent evaporation considerably, taking what might typically be a week for curing and stretching it into two weeks or more. Thus, during damp weather, those excited to see their vehicle shine may find themselves waiting longer than anticipated.
To avoid these delays, I recommend watching the weather forecast closely before starting your project. Ideally, aim for a dry day with low humidity levels—this allows for quicker evaporation of solvents, ensuring that your new coating bonds effectively to the paint beneath.
Curing Conditions
As noted earlier, temperature plays an important role as well. While higher temperatures typically speed up the initial curing stages, they can introduce issues if there’s excess moisture in the air. Moisture droplets can create defects in the ceramic coating as they interfere with its bonding process. It’s vital to keep an eye on humidity for the best outcomes.
It’s all about balance! Optimal conditions for curing happen at moderate temperatures paired with low humidity.
Sunlight exposure is another double-edged sword in this equation. Sunlight can help expedite curing; however, uneven exposure might cause uneven results. Picture yourself applying ceramic coating on a sunny day with patches of shade covering different areas of your car—it could lead to inconsistent results requiring rectification later on.
Considerations for Application
Thus, when preparing for ceramic coating application, consider these essential factors:
- High Humidity: Slower solvent evaporation leads to longer curing times.
- High Temperature: Can accelerate curing processes initially; however, moisture may introduce defects.
- Sunlight: Promotes curing but requires careful management of exposure to avoid inconsistencies across surfaces.
To make life easier, utilize dehumidifiers if working indoors or wait for sunny yet manageable days outside (neither too hot nor too cool) that provide enough light without overwhelming your vehicle. Well-timed preparation ensures you reap the full benefits from your ceramic coating investment.
By monitoring these environmental factors and making necessary adjustments, you'll set the stage for optimal application outcomes. Transitioning into understanding how multiple layers affect curing times will further enhance your knowledge and maximize the advantages of your ceramic coating experience.
Speeding Up Curing
One effective way to accelerate curing is by using heat lamps. When you place infrared heat lamps around the vehicle, they can significantly cut down curing time—sometimes halving it. However, it’s essential to use these cautiously; overheating can do more harm than good, damaging the coating and potentially your vehicle’s finish. You may want to experiment with the distance of the heat lamps from the surface, ensuring you strike a balance between warmth and safety.
If heat lamps aren’t available or seem risky, consider maintaining a controlled environment for your vehicle. Keeping it in a temperature-controlled garage can work wonders. The ideal temperature typically hovers around 70°F (21°C), while low humidity levels will help ensure that the ceramic coating cures evenly and effectively.
Some professional detailing shops have even gone so far as to create specialized curing rooms designed precisely for this purpose, maintaining optimal temperatures and reducing humidity for faster results.
It's fascinating how much difference the surrounding environment can make in ceramic coating processes.
Another technique worth implementing is increasing airflow with fan circulation. By utilizing fans, you can help evaporate solvents more evenly, which allows for quicker initial drying times. Just be sure that these fans draw in clean air; using contaminated or dusty air isn't ideal and could lead to imperfections in your finish. This approach ensures that every nook and cranny of your car receives equal airflow, making curing faster without introducing any foreign particles into the mix.
Understanding when and how to utilize these methods is key. It’s about finding what works best for your specific situation while always prioritizing proper curing practices. Even though it can be tempting to rush through this crucial step in ceramic coating application, every moment spent giving your vehicle the right conditions pays off in the long run.
With these strategies in place, you'll be poised to create an optimal setting for your ceramic coating journey. Now, let's explore what happens after you've allowed sufficient time for curing, revealing the transformative effects on your vehicle's appearance and protection.
Results After Curing
Once fully cured, ceramic coatings present a suite of impressive benefits that go beyond mere aesthetics. One of the most remarkable features is their hydrophobic nature, meaning they repel water effectively. This unique property helps prevent contaminants from sticking to the surface of the vehicle, making it considerably easier to clean.
Imagine driving on a rainy day and seeing beads of water effortlessly rolling off your car's exterior; that's the magic of a properly cured ceramic coating at work.
The difference in maintenance is nothing short of revolutionary. Many users report that after applying a ceramic coating, regular washes become far less labor-intensive. In fact, one user shared on Reddit that after two weeks of curing, they found their vehicle without any water spots even after a significant rainstorm—what a fantastic perk! This not only saves time but also reduces wear and tear associated with frequent washing.
A fully cured ceramic coating offers transformative protection against environmental elements as well.
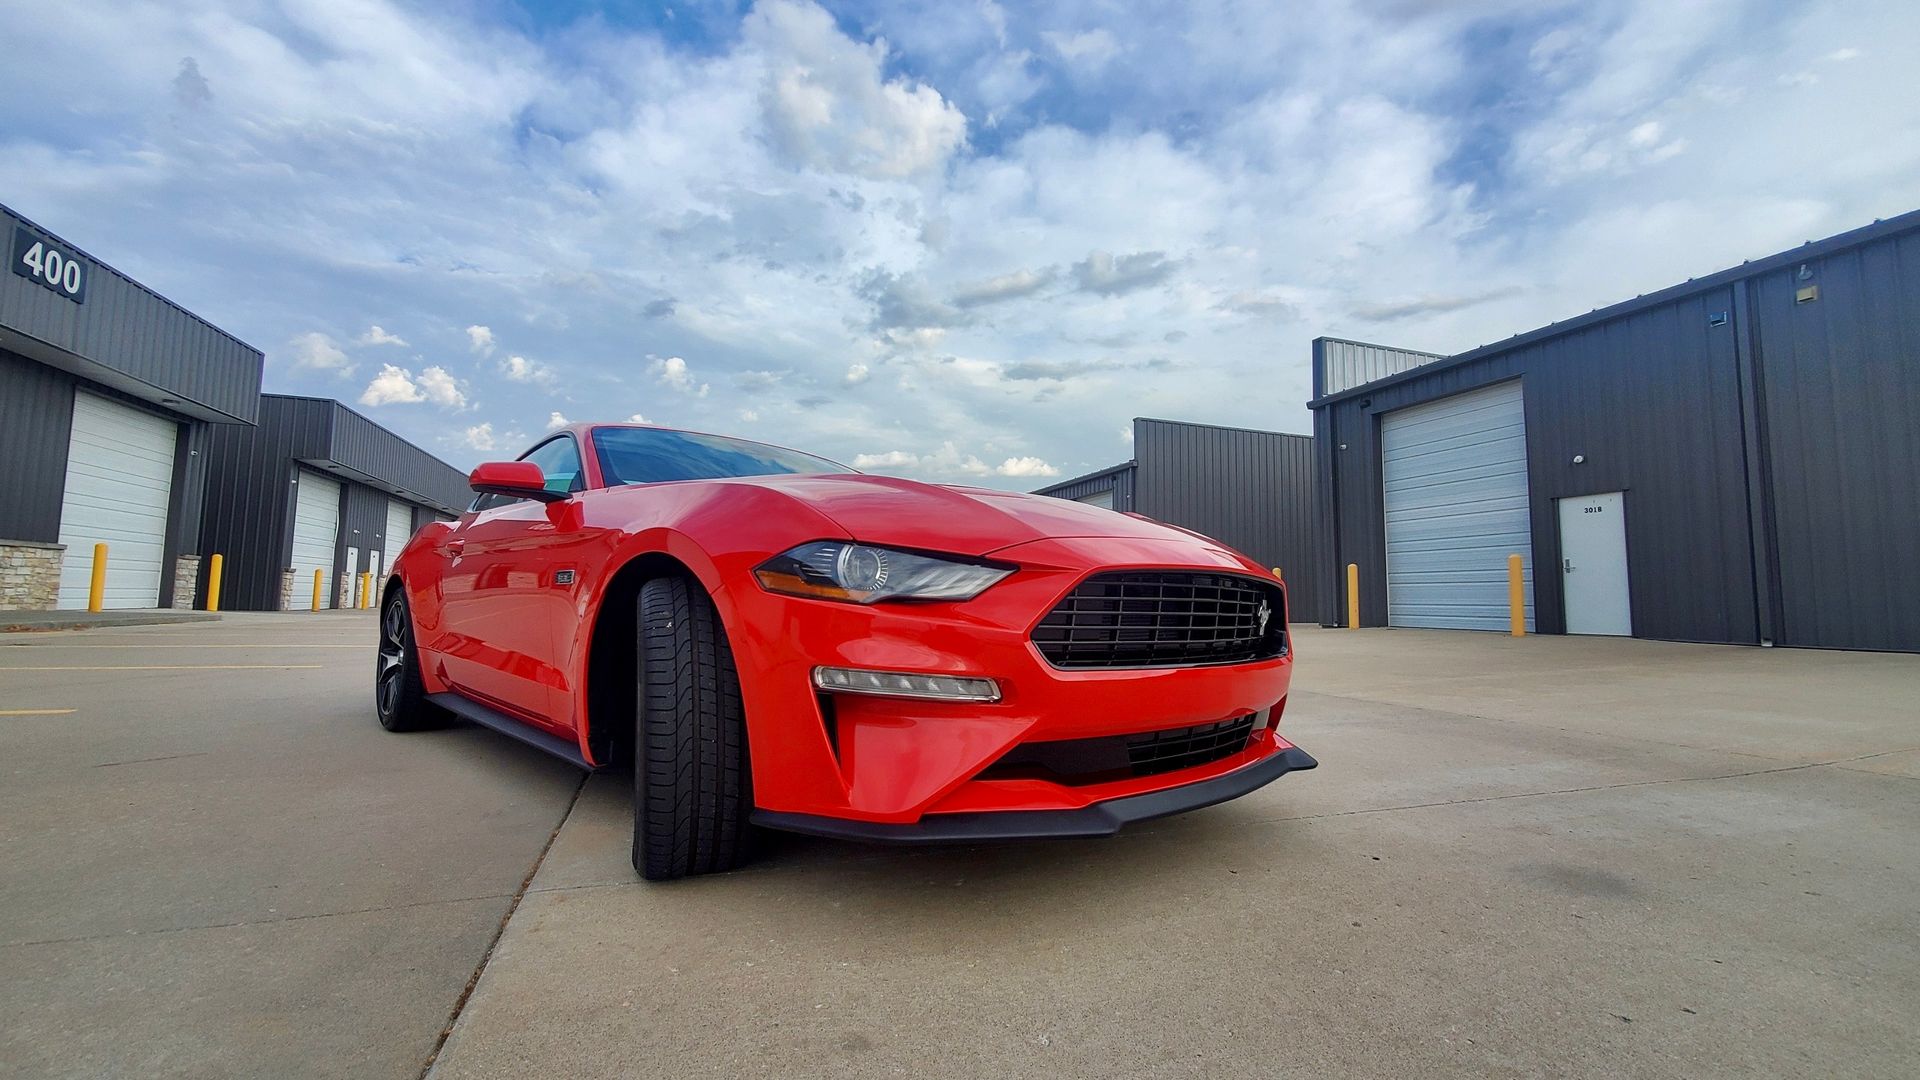
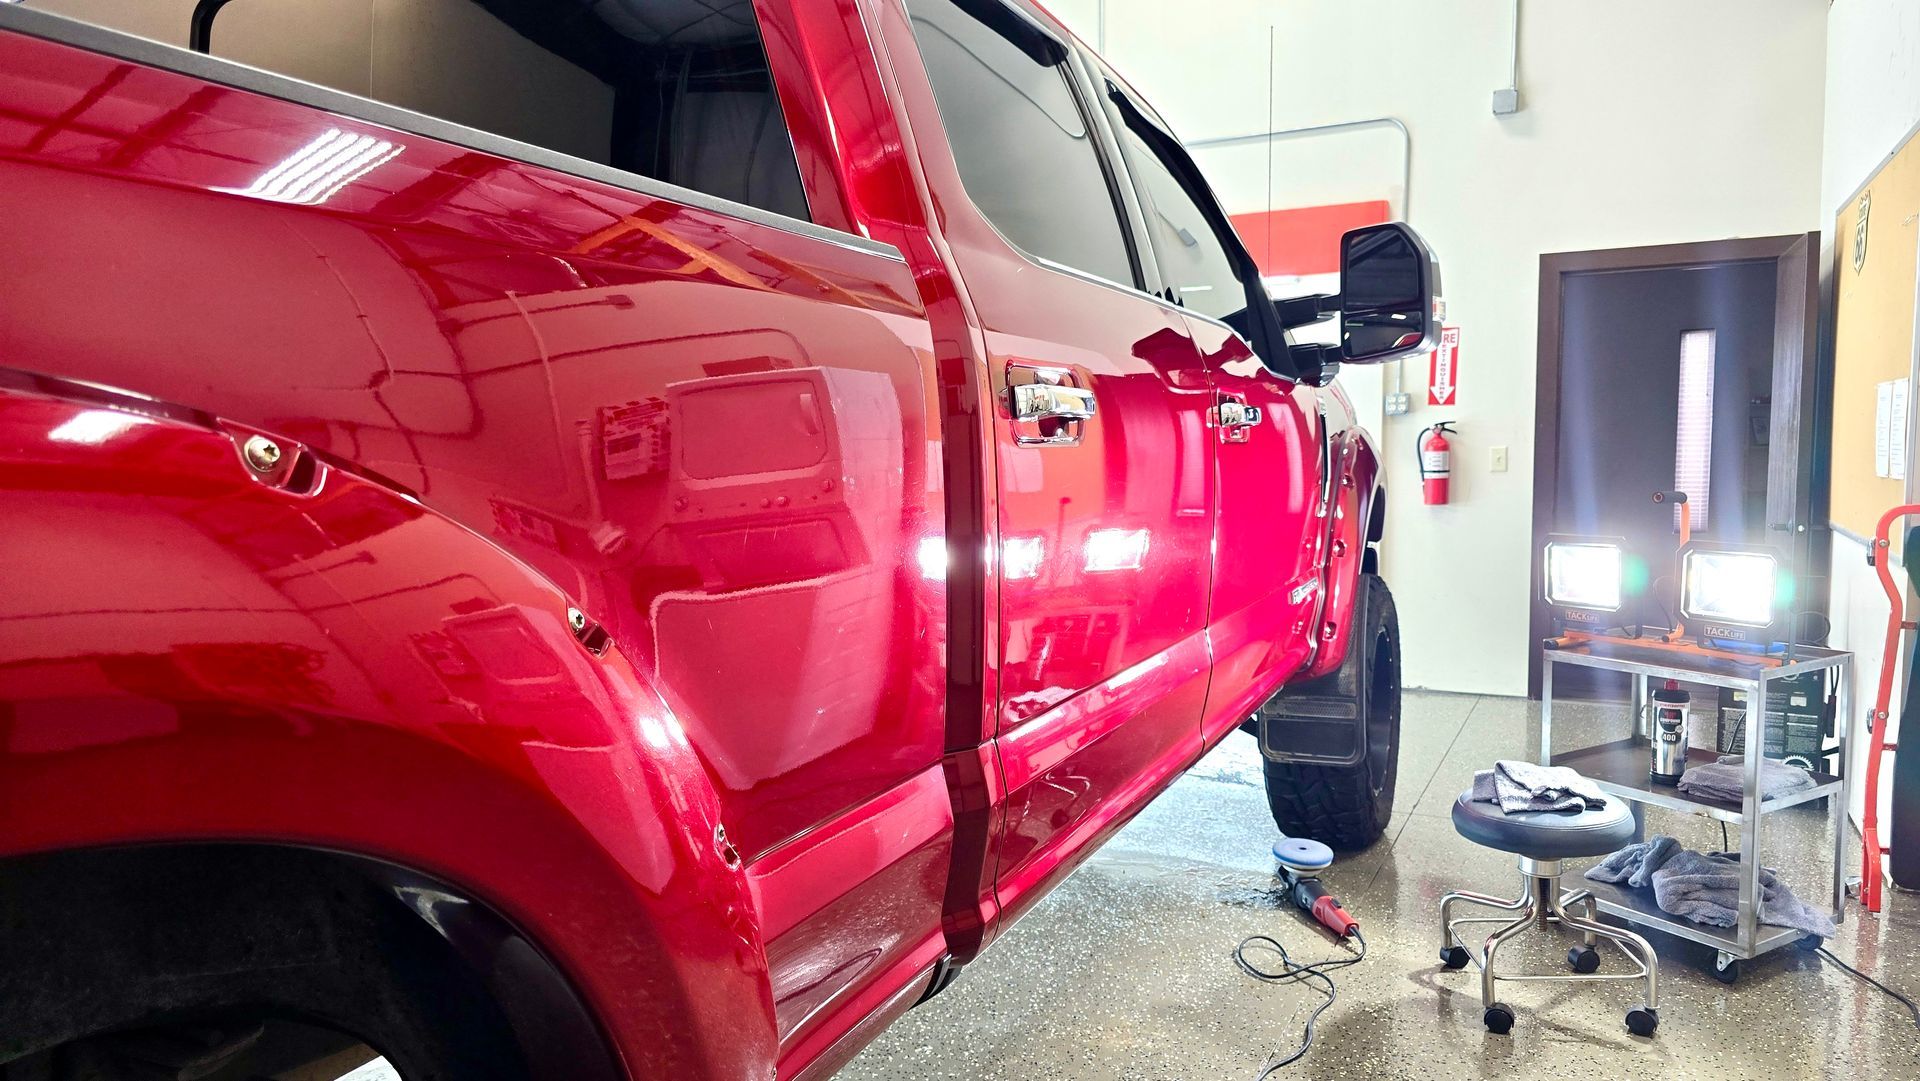
Users often express delight in achieving a mirror-like finish that turns heads everywhere they go. This reflective quality amplifies the beauty of any vehicle color or design, making it look fresh out of the showroom. Imagine pulling up at an event and watching people admire your car, all thanks to that protective gleam.
The protective capabilities don’t stop there—the most notable feature of a ceramic coating is its durability against UV rays, chemical stains, and minor scratches. Ultraviolet rays can wreak havoc on automotive paintwork over time, leading to fading or discoloration. However, a properly cured ceramic coating acts as a shield, ensuring your vehicle’s paint remains untouched by those harmful sunbeams.
Chemical stains are another culprit that can diminish aesthetic appeal; whether it's tree sap or bird droppings, these substances can etch into paint if not cleaned promptly. With the protective layer of ceramic coating, these issues become far less daunting. You’ll find you can simply wipe away contaminants without fear of damaging your paint job beneath.
So, while enhancing your car’s aesthetic charm is certainly enticing, the long-term benefits offer an equally compelling reason to invest in ceramic coatings: they significantly prolong the life and luster of your vehicle’s exterior.
If you're ready for the outstanding protection and beauty that ceramic coating provides, contact us today at
Let's Roll Coatings or call us at (316) 295-0787 for more information.